How to add and remove Windows 10 Local Administrator Account
Sometimes you need to add more users or administrators to your Windows 10 computer and you don’t want assign a Microsoft account for the user. To accomplish this you need to setup a local Windows 10 user which you then can assign administrator privileges to.
Here’s a simple video showing the workflow. Unfortunately the OS language is in Swedish, but you will probably get the point anyway.
Create a new local user
- Open the “Settings” app in Windows 10
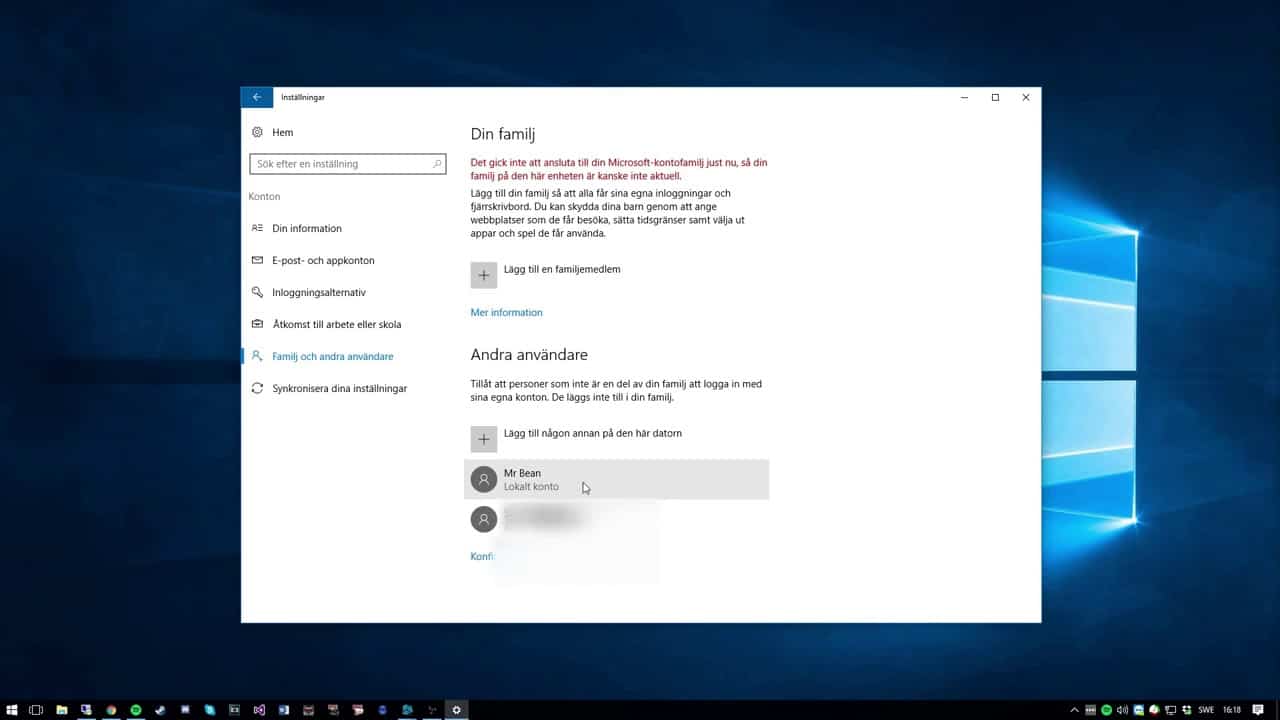
- Navigate to “Accounts” and choose the “Family and other users” tab
- Press on “Add someone else to this computer” button
- Press on the text “I do not have this person’s login information”
- Press on the text “Add a user without a Microsoft account”
- Specify a username and password and optionally a password hint
Upgrade the local user to an administrator
- Open the “Family and other users” tab again (as described above).
- Press on the username and click on the button “Change account type”
- A popup window will appear with a dropdown menu, select “Administrator” from the dropdown menu. And then press the “OK” button.
The user is now a full administrator on the local computer and is ready to be used. If you changed your mind, you can remove the account again.
Remove a local user account
- Open the “Family and other users” tab again (as described above).
- Press on the username and click on the button “Remove”
- Confirm by pressing the “Delete account and data” in the popup window.